
So with a bit of travel planned during 2016 & 2017 and hopefully more in the future, I invested in a bike bag. I didn’t do a whole heap of research instead I decided to trust the knowledge and experience of my local bike shop V1 Cyclery and asked them for the best transport option I could buy for around $500 to $600 dollars. The Scicon AeroComfort Triathlon bike bag was the recommendation.
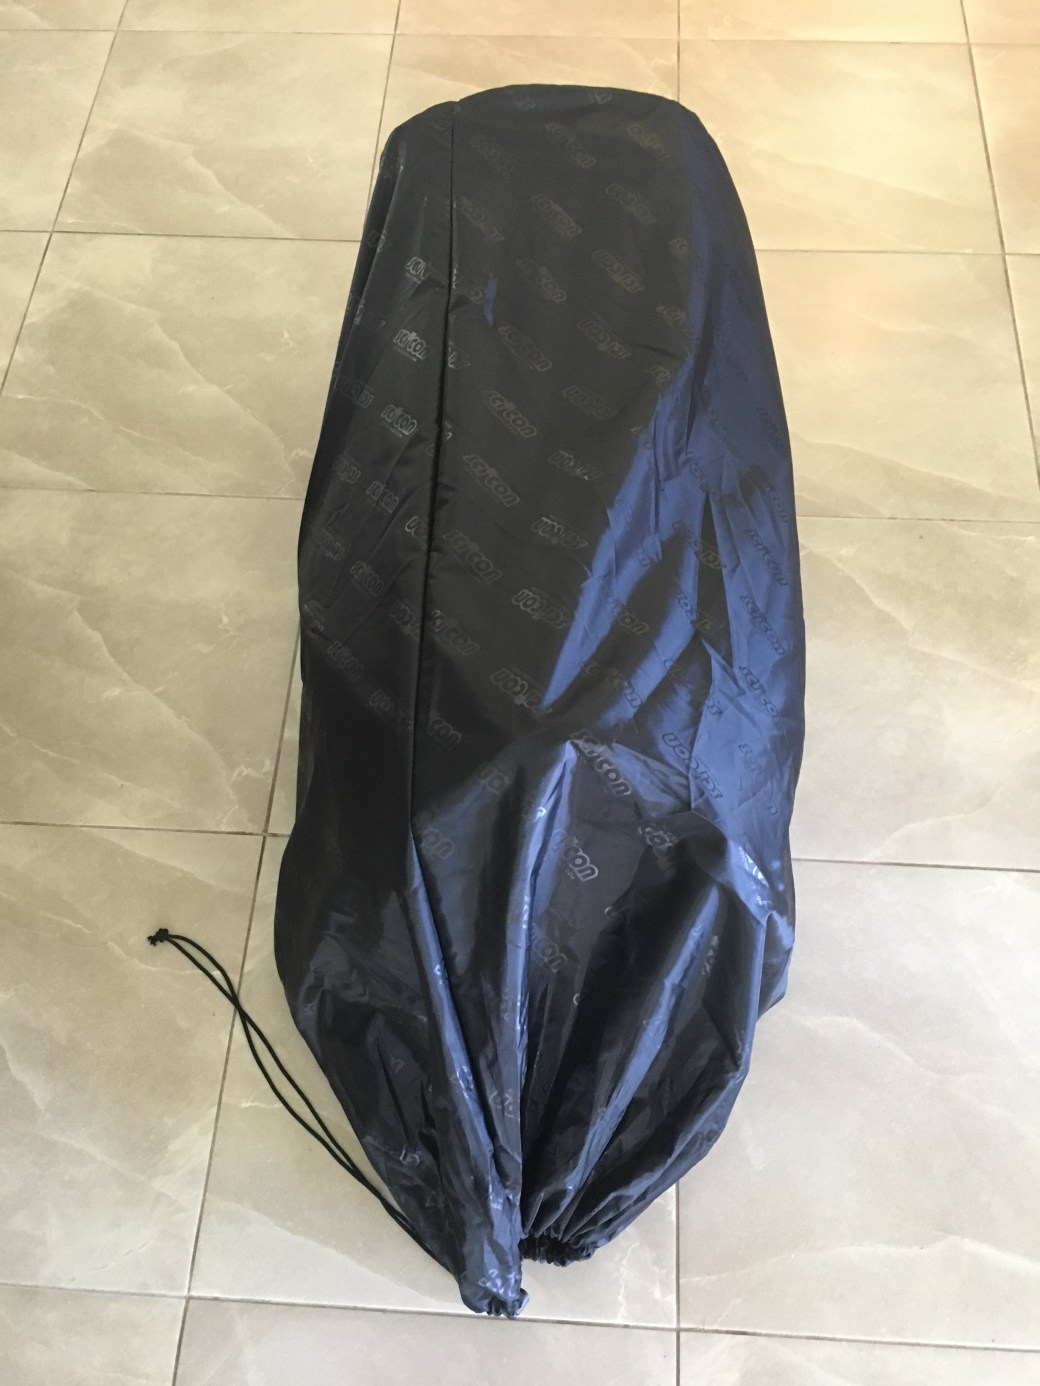
The un-boxing (it was kind like Christmas and I just had to have the kids help):

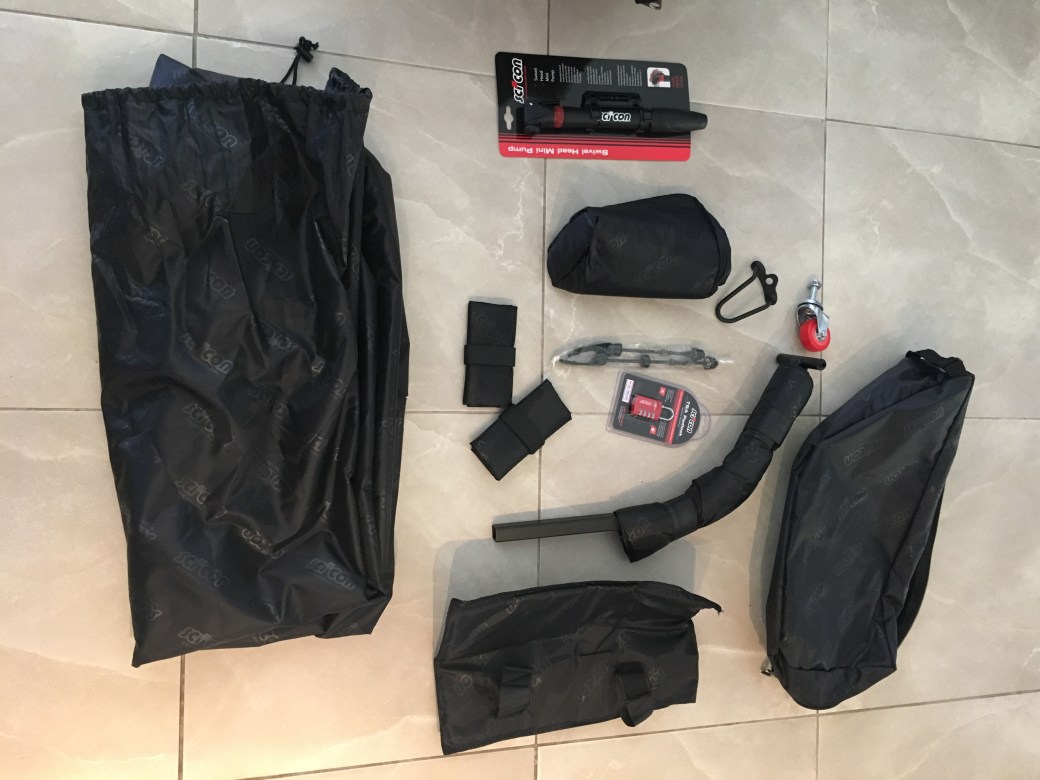
Here is a list of what came in the box:
- 2 quick release skewers
- An aerobar protector padded bag
- A TSA Approved padlock
- A rear derailer guard
- 3 x anti-shock foam tubes
- A spare castor wheel (for the bike bag)
- A handy mini pump
- A storage bag for the whole bag
- A mini storage bag for all the bit & pieces (which I used to carry my helmet in during transport)!

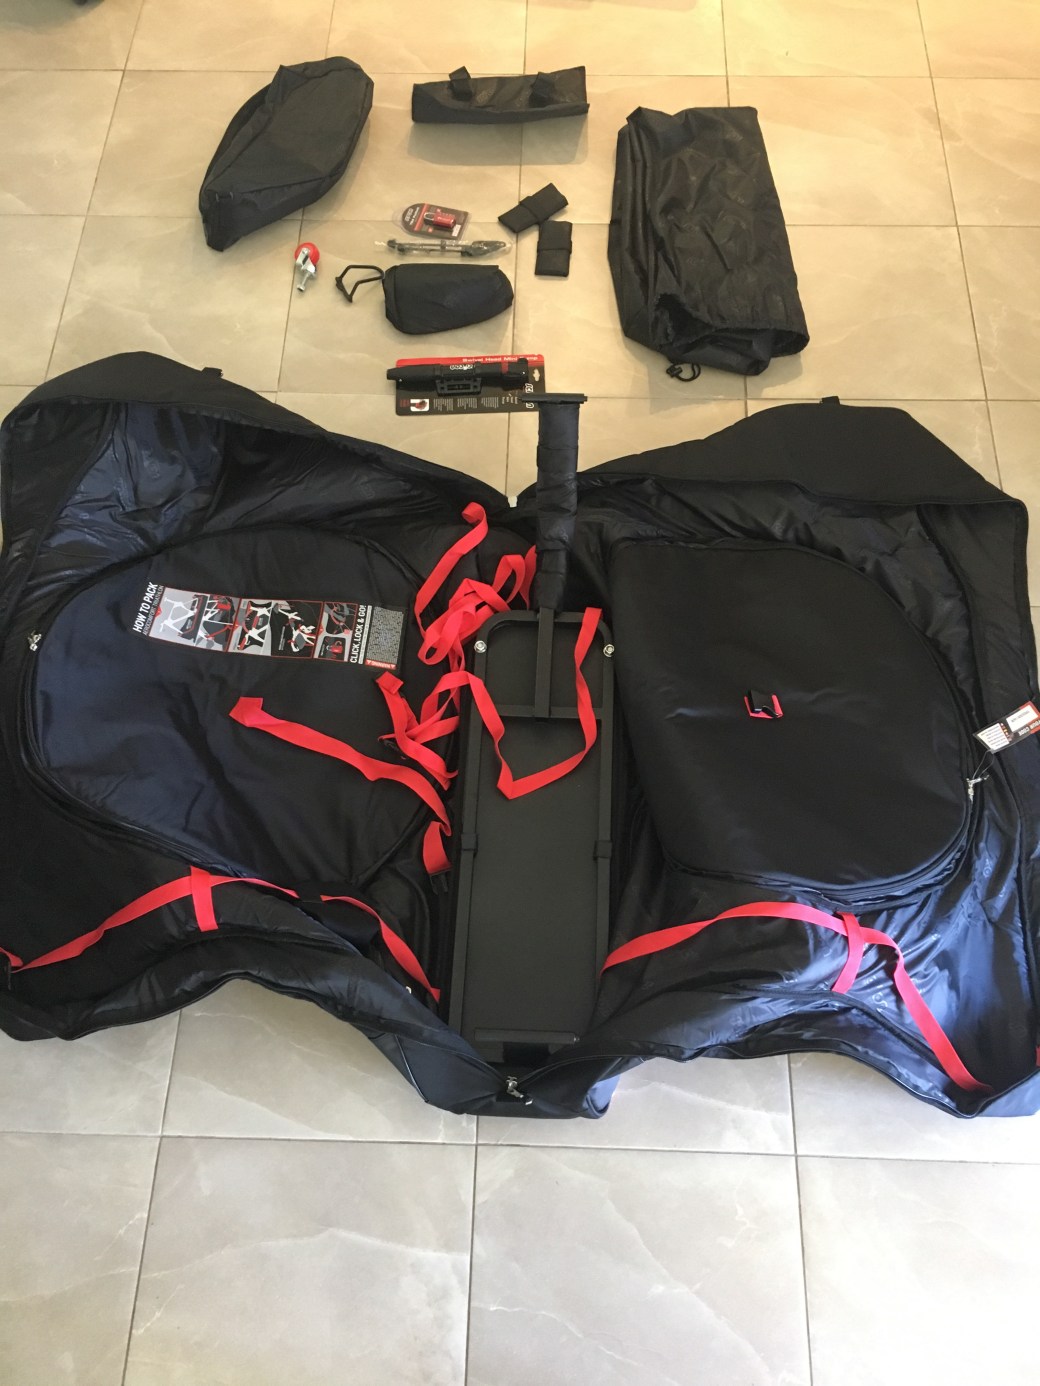
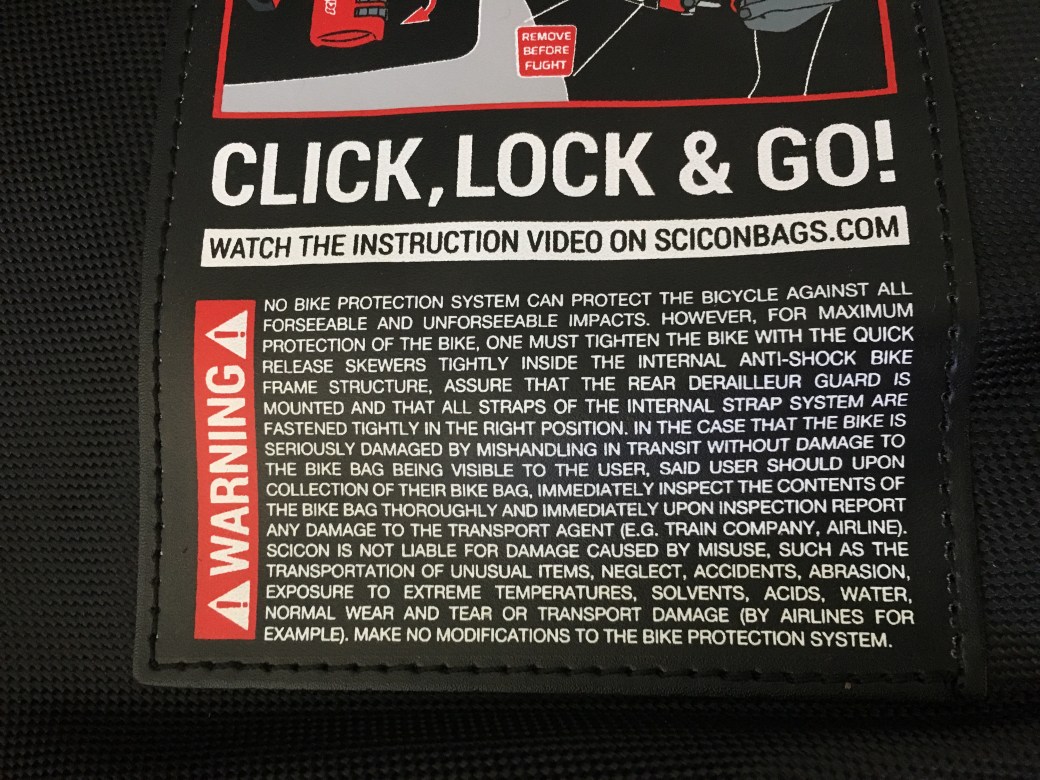
I love the finer details, like packing instruction inside the bag:

So here is a little insight into my first trip flying 2.5 hours from Brisbane to Melbourne.
I was struggling to pack my bike for the first time, not quite knowing how all the pieces worked, but the YouTube video was awesome: Scicon Bags – Aerocomfort Triathlon Bike Travel Bag. It made sense of all the parts and even showed me where to hide/pack the skewers from my wheels (in a handy little pocket). I did put in a call to my training partner, Ian, (who coincidentally, without any collaboration happened to purchase the exact same bag for his birthday only days before I bought mine) to check I had the straps and clips in the right spots. Probably really called him to satisfy my own piece of mind that I had done this right. Ian has already used his bag for a couple of interstate trips to Perth & Sydney (more from him shortly/below).

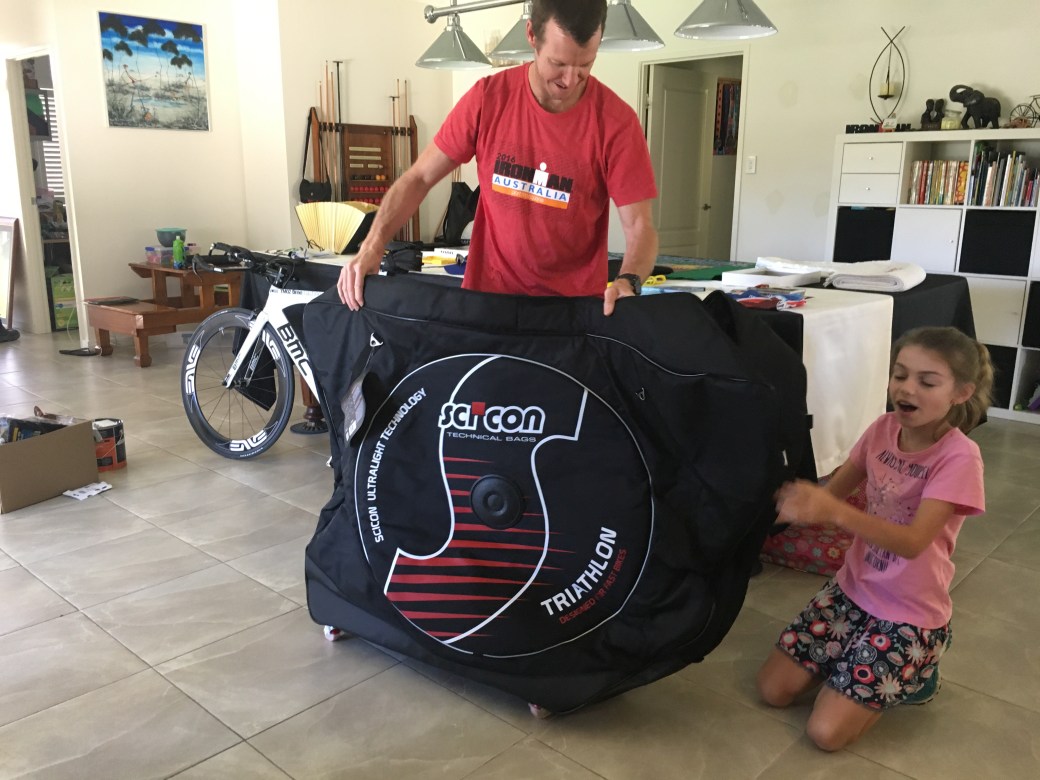
So with my bike strapped in with 4 straps, 2 over the handle bars, 1 over the top tube and 1 over the seat, the rear derailer protected the forks locked in, helmet, wetsuit & drink bottles all packed, I was happy to head to the airport.
The process at the airport was surprisingly easy, just check the bag as per normal with the standard limit of 25kg. It did have to go through the over sized baggage window and weighed in at a measly 21kg, I will have to add some more kit in their next time, like shoes, tri-suit and training gear!
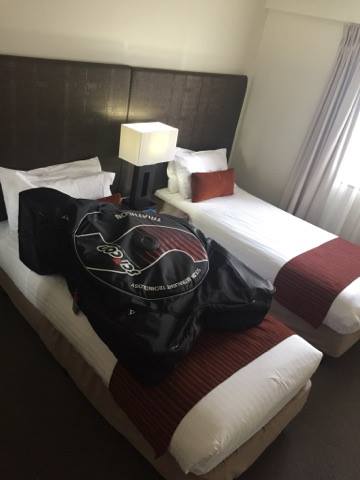
Arriving at Melbourne again heading to the over sized baggage carousel to collect my bike. Quick check and it all seemed to be ok from a quick glance. Our hire car was a Kia Carnival, so we had absolutely no problems fitting the bag and our luggage in with the 5 of us. Following the 2 hour drive to Shepparton, I set about re-assembling my bike which would have been literally a 5 maybe 10 minute job, but I had a small problem. I must not have tightened the rear skewer in tight enough and the whole bike had slid forward and the bike was resting on the rear derailer in the bottom of the bag. Have a quick read of my Challenge Race report to see how I over came that little saga!.
This is by far and away the best part of this bag, at no point do you have to adjust your seat height or tilt the handle bars or adjust the aerobars or adjust your setup at all. It all just fits in so simply! So when re-assembling, it is really a matter of just putting the wheels back on, check it over and get on & ride!
My experience re-packing after my race went super smooth and I think after a couple more uses, as with all thing, my confidence will grow. All in all I’m very impressed with this bag, it fits everything in it, including some extra gear necessary for racing & you don’t have to worry about adjusting your setup! My bike didn’t sustain any damage in either flight & now I am ready and set for my New Zealand trip in March.

So that is enough of my opinion, here are some thought & photos from Ian: (Ian is my current training partner on our journey to Ironman New Zealand & probably beyond):
After researching the various bike travel bags on the market I landed on the Scicon AeroComfort Triathlon Bag. It had great reviews and had one feature I was drawn to – no need to fully disassemble the bike or to use any tools.
Opening the box and unpacking the bag was a good first impression, everything that was supposed to be there was in the box.
I had a 3 day business trip to Perth not long after getting the bag so decided to use this as the test run for the bag. For this trip I took my road bike, not my TT but the process to load it in the bag is the same.
Had a read of the instructions and watched the short video on the Scicon web page and I was an expert. The whole process took me perhaps 15mins from the time I got my wheels off until I zipped it up. It was very simple and everything just worked the way the instructions said they would. I used the small bag that had the spares and protection in it to carry my helmet and bike shoes, it attached nicely to the down tube.
I arrived at Brisbane airport, checked in and then dropped the bag at the over sized luggage point.

Arrived in Perth, collected the bike and an initial inspection showed no damage, great. Picked up my hire car, a Toyota Yaris, my immediate thought was that the bike won’t fit in that but sure enough it did. Arrived at my hotel, opened the bag and checked out the bike – perfect, no issues. Taking it out of the bag and re-assembly took maybe ten mins. The only problem I had was that I couldn’t figure out how to change the hand pump they supplied over to presta, no big issue I just used a Co2 canister.
Learnings from my test run …
- lift the sides of the bag once the wheels are in and the re-tighten the straps
- wheel it from the seat as it has a tendency to tip forward when pulled
- take a rag or towel. I got caught in the rain on my ride the morning I was heading home and the bike was wet and filthy
- the seat protector seems to be fitted for a short Tri style saddle and didn’t fit completely over my longer saddle, not an issue, I think it can be un-stitched but I left it as is
So far I’m a huge fan, the bag is easy to use and seems to protect the bike. The big positive for me is how quickly it is to pack and unpack.
Thank you Ian for your input, training has become just that little bit easier with a mate! So all in all that’s two pretty good reports from 3 trips. We are both now comfortable that we can travel with our bike’s and hopefully arrive at our destination ready to race. Bring on Ironman New Zealand in March 2017.
If you need some inspiration, put your e-mail in below, follow me on Strava, Instagram and like my facebook page and let’s get out there swimming, cycling & or running. The biggest regret we can have in life is to not TRI!
Till next time build consistency, keep smiling and live to Tri!
